DIY Grain Bin Gazebo
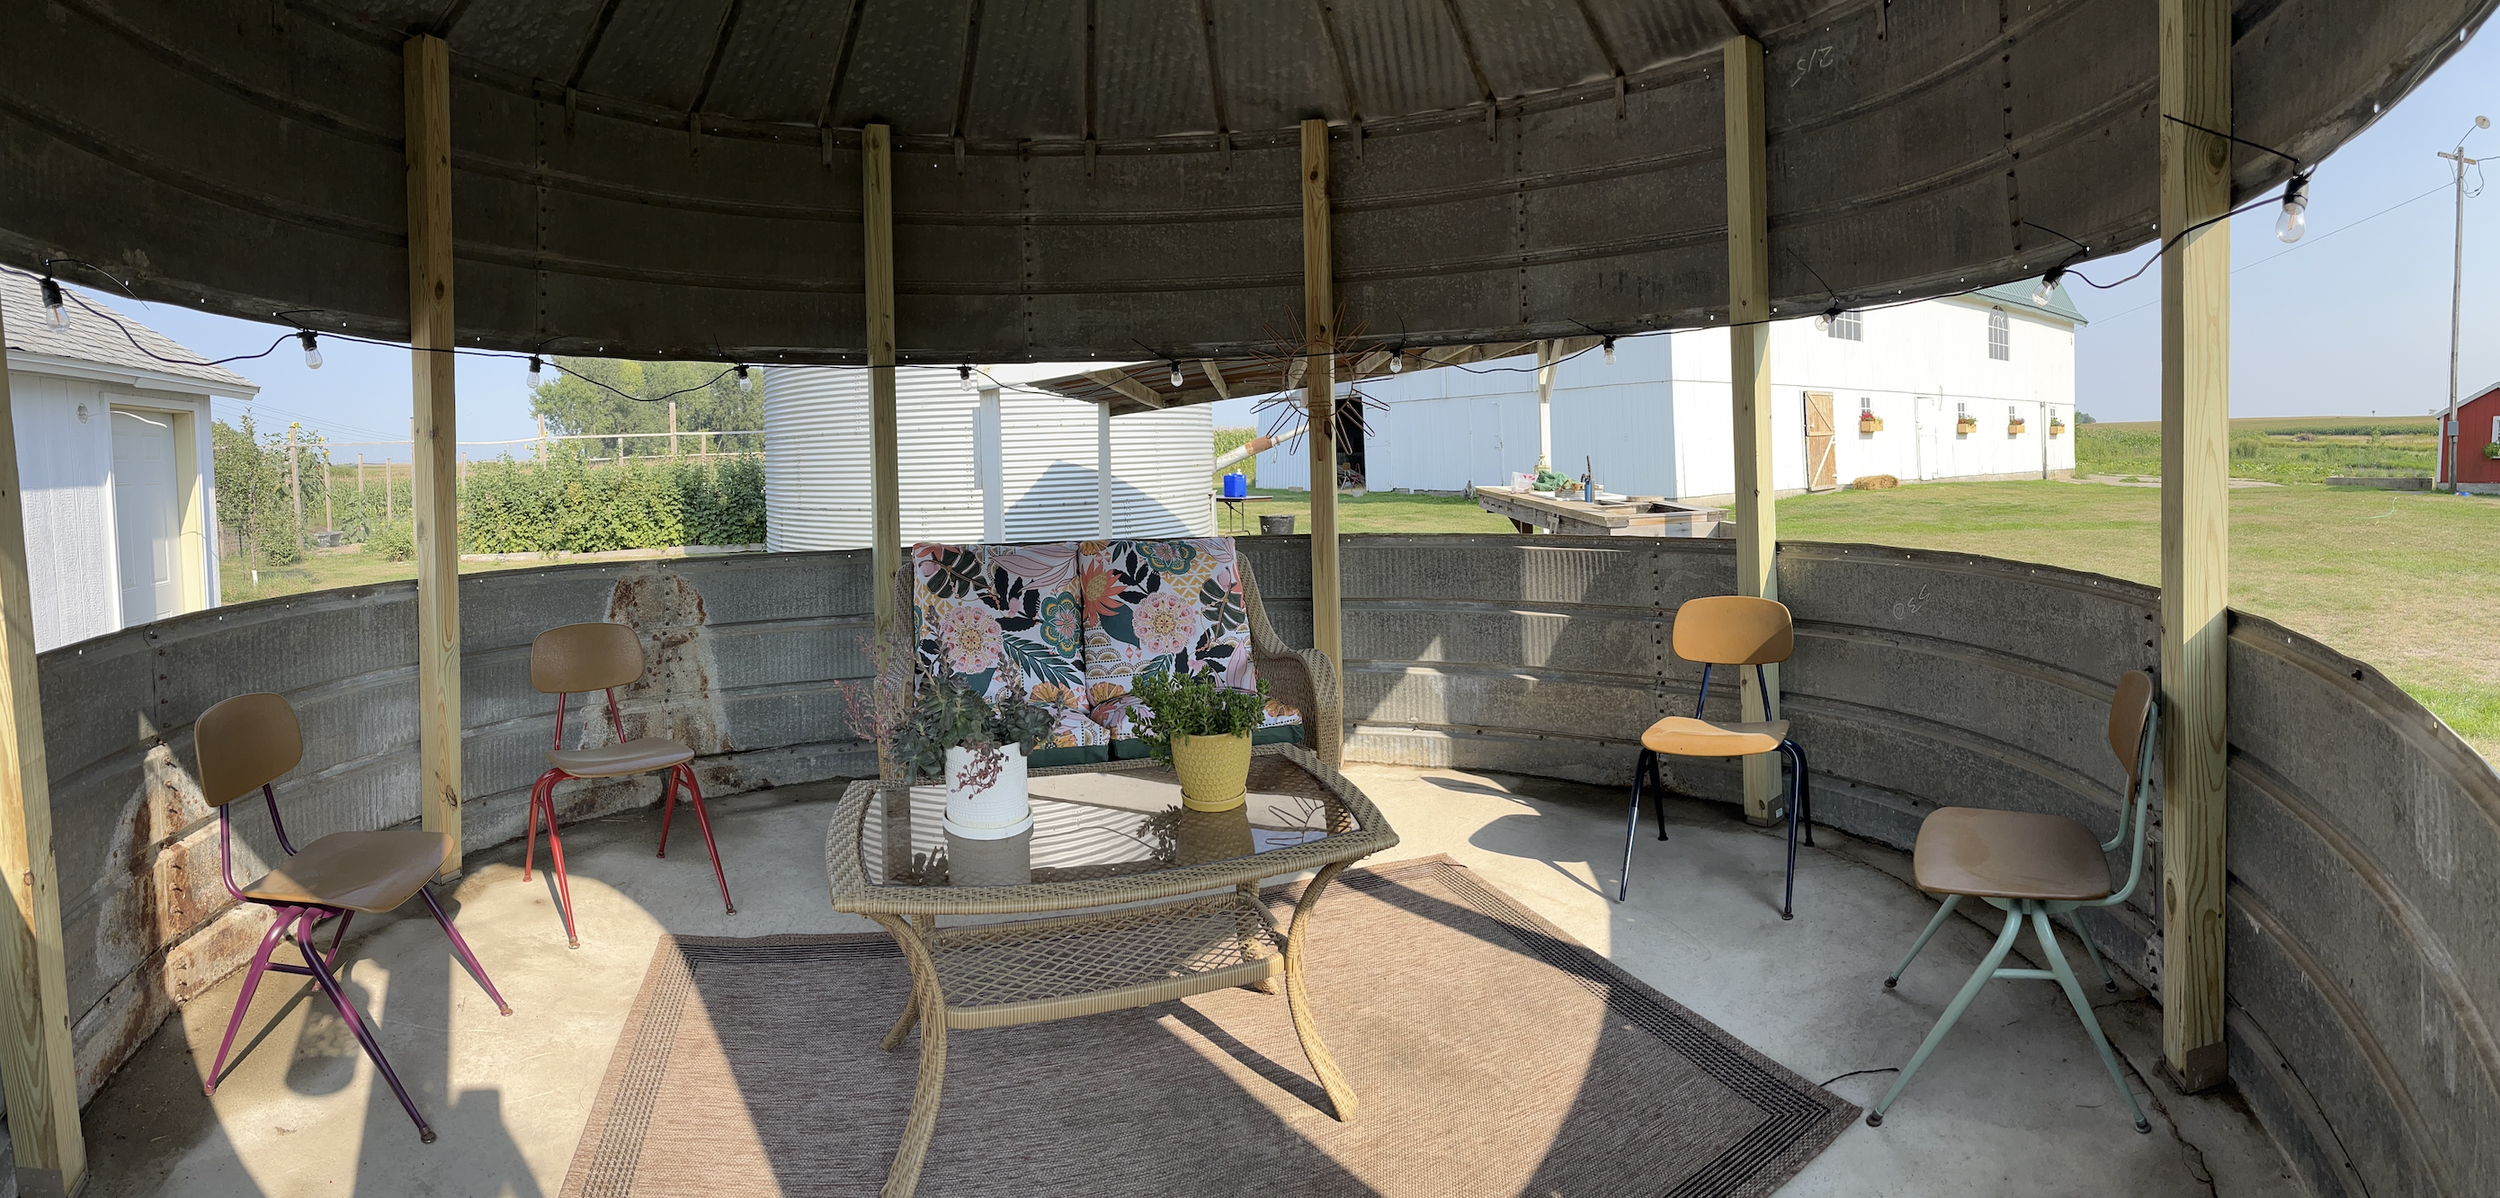
For quite some time we have been learning about DIY grain bin projects. We have two existing bins on our farm, one of which was small enough to make a perfect “binzebo.” The Columbian 501 Red Top Bin (Kansas City, MO) was installed in 1979 to originally hold oats for farm animals. It measured 52’ in diameter with 8’ side walls and 14’ to the peak. The bin was in great condition and fortunately stood on top of a slab of cement. This meant we would not have to pour new concrete and move the bin, but could leave it right where it originally stood. Our hope was to create an additional outside sitting and dining area for visitors and guests who stay in the cottage AirBnB.
The project ultimately took just one day to complete. A rather simple DIY project that quickly created a new space for us to enjoy that otherwise was going unused.
Before I could begin the project I made a trip to Menards to get supplies.
4 x 4” x 8’ treated @ $16.27/pc - 8 total
4 x 4” base plate @ 13.89/pc - 8 total
1/2” hex nut expansion anchors @ $2.80/pc - 8 total
2-1/2” joist hanger nails 1lb @ 20.78/pc -1 total
3” 1/4” hex drive pole barn screw 1lb @ $28.44/pc - 2 total
For the tools I used the following:
Dewalt 20V power driver
Dewalt 20V grinder
Dewalt 20V sawsall
Bosch hammer drill + masonry bit
Level
Hammer, socket wrench, screw driver
Miscellaneous
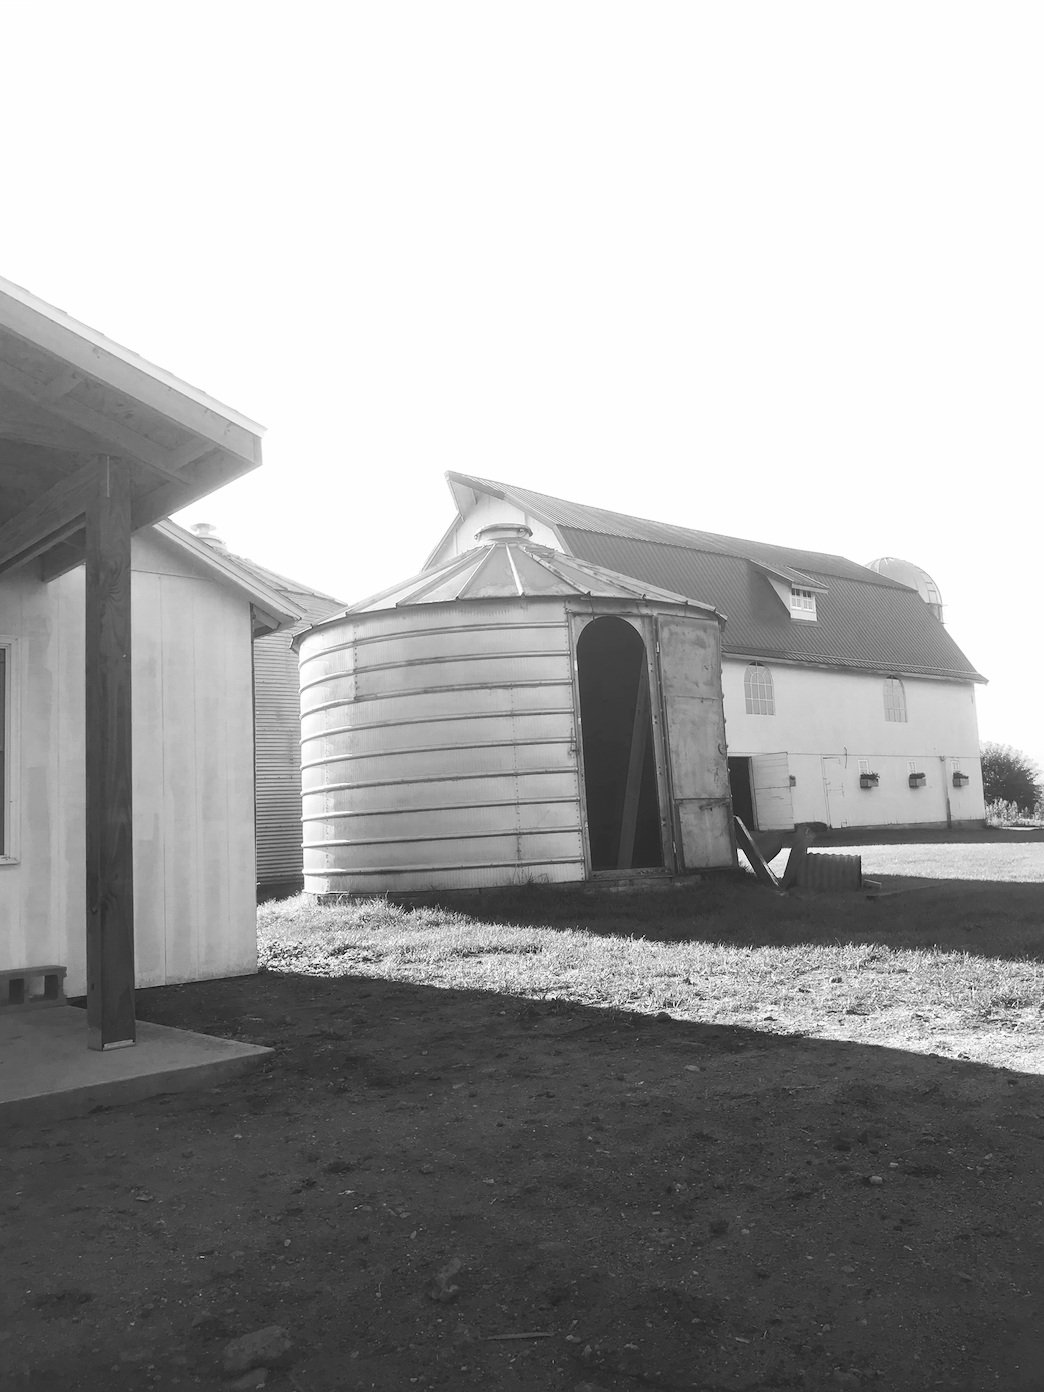
The grain bin before starting the project

Bin door - “TANKS FOR THE WORLD” - 1979
The first thing I had to decide was where to put the door/entrance to the binzebo. This was easy because a full length door already existed on the bin. I decided to keep the door on the bin to preserve the history of the structure even more. I also liked the quote on the bin door - “TANKS FOR THE WORLD.” I decided to position two of my eight posts directly on either side of the door. This meant I had six more posts to use over the span of 48ft. Simple math meant that I would space my posts ever 6ft.
Carefully measuring I positioned the eight metal base plates on the floor where they would eventually go. Using a sharpie marker, I traced around each base plate and marked where I would need to drill. Once I had my holes marked I started to drill the holes using my grandfather’s steel drill, which has been used for drilling through masonry many times before. However, even with Flannery’s help we could hardly puncture the 1979 concrete. After spending over an hour drilling only three of the eight holes, Flannery suggested I go to Ace Hardware and rent a hammer drill. While I wanted to be stubborn, which is one of my qualities, I opted to drive to town. In the end it still saved a ton of time. Within just five minutes I had the rest of the holes drilled.
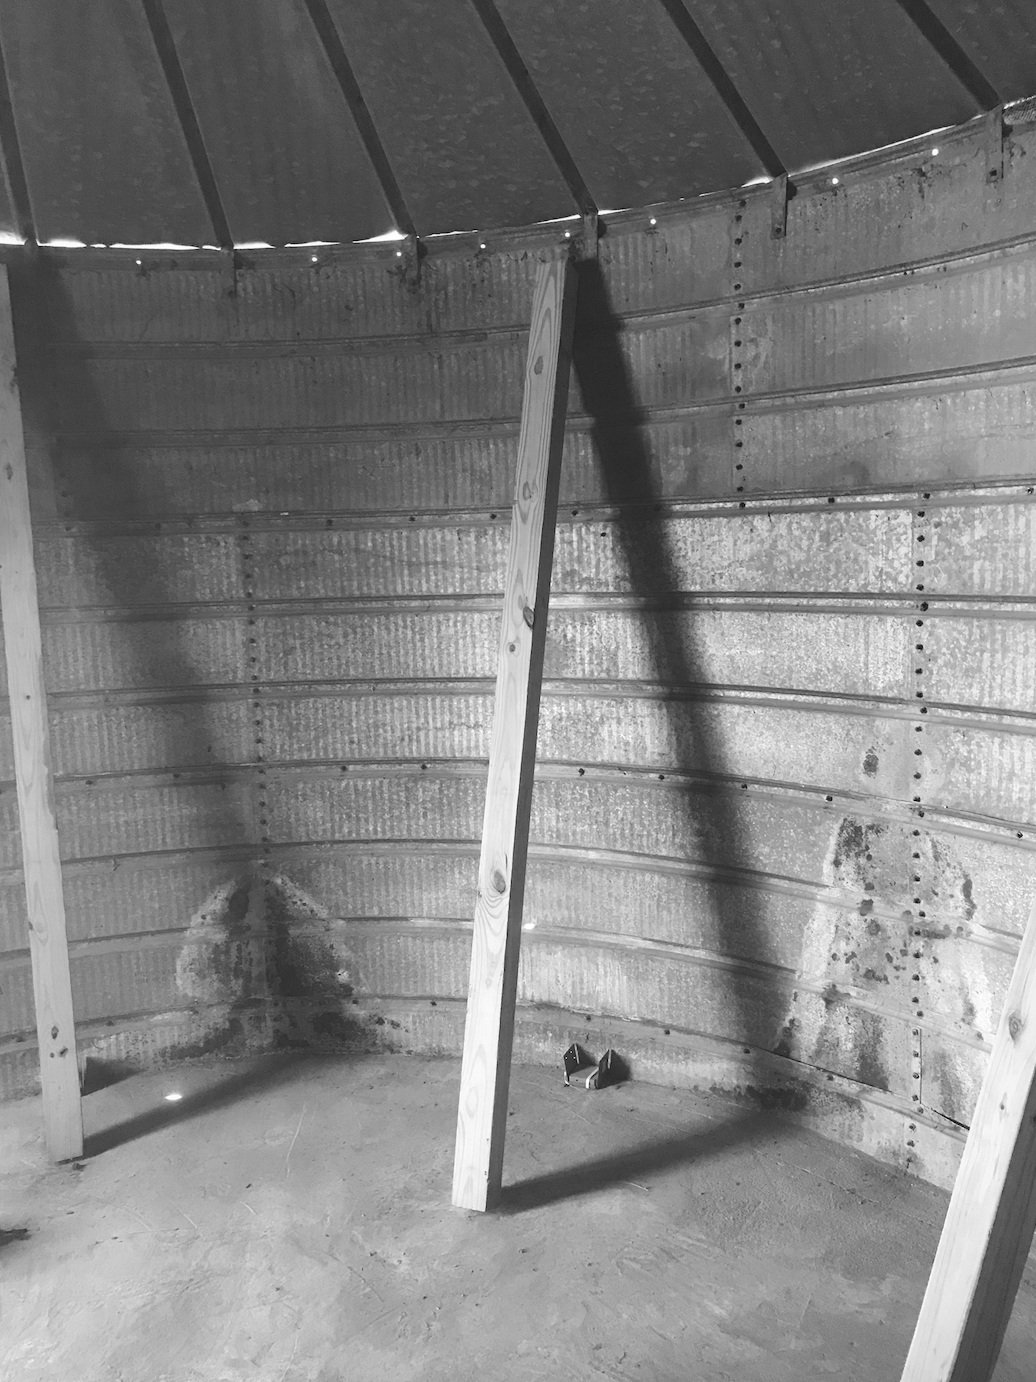
Positioning the base plates and posts before drilling

What I started with, but eventually rented a hammer drill.
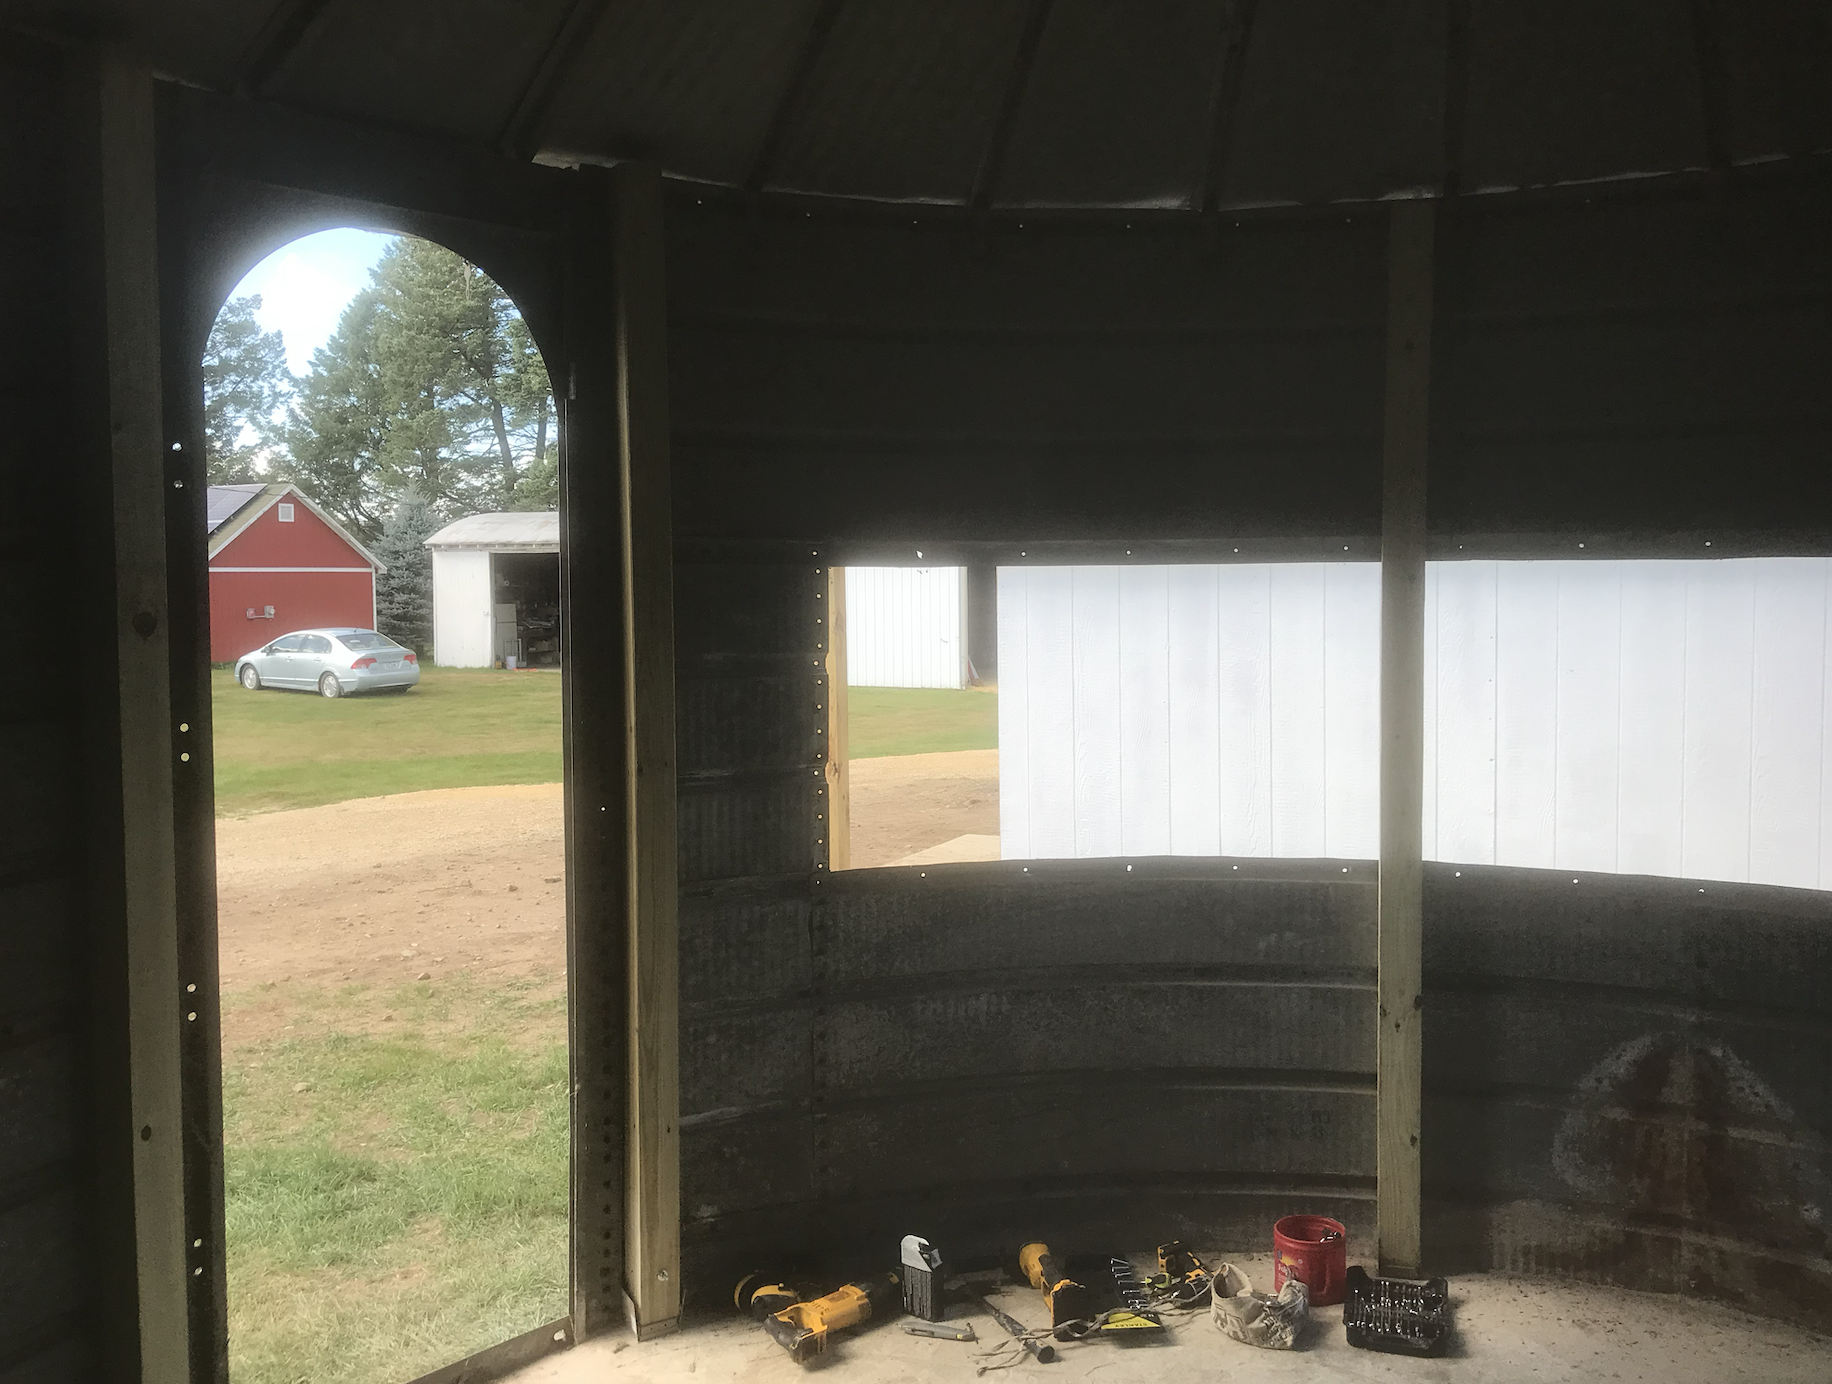
With the holes cleaned out I fastened the 4 x 4” metal base plates to the floor using the expansion anchors. With the base plates now firmly fastened to the concrete, I positioned the posts along the interior wall of the bin. Using a level I made sure the posts were straight and then drilled and screwed them from the outside of the bin. I did this with all eight posts around the inside of the bin.

With the posts firmly secured to the bottom and top rings, the middle ring gets removed.
Removing the middle bin ring - view from the inside
With the bottom and top rings of the bin now firmly fastened to the eight posts, it was time to start removing the middle ring. The rings were securely fastened together using small bolts and square nuts. Over the past 44 years, however, the bolts and nuts had rusted making it impossible to get some of them apart. I would estimate 40-50% of the bolts could not be undone with just a socket wrench and screwdriver. For those I had to grind off the heads of the bolts.
Working on one ring at a time, I made my way around the entire frame of the bin until the entire middle ring was removed.

The rest was purely cosmetic at that point. Once I was finished, Flannery stepped in to do her part and attached a 48ft strand of bistro lights (also from Menards), along with some patio furniture. Viola, the grain bin was now a full on binzebo! That evening we ate dinner and enjoyed the benefits it provided - open air, shade and even a barrier to keep the cat from climbing onto the dining table.